In this blog post we will go over what we learned from the second chapter of the fastai series. if you haven't checked out my previous post you can click here.
Here we will train a Teddy Bear classifier versus a bear classifier.Interested in seeing how the final product looks?Here is a link to the final product and notebook.
Now let's get started.
#checking if the latest version of fastai is installed or not
!pip install -Uqq fastai
!pip install -Uqq fastai duckduckgo_search # Download photos using duckduckgo search engine

First step is to importing the required libraries
from fastcore.all import *
import os
import time

from duckduckgo_search import ddg_images
from fastcore.all import *
Creating function to scrape the photos by given term in the below function
def search_images(term, max_images=200):
    print(f"Searching for '{term}'")
    return L(ddg_images(term, max_results=max_images)).itemgot('image')
Checking the function by providing key word and its output
urls = search_images('bear photos', max_images=1)
urls[0]

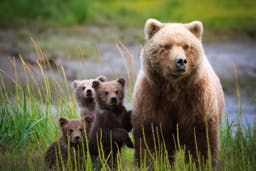
Checking the image version of the above url
from fastdownload import download_url
dest = 'bear.jpg'
download_url(urls[0], dest, show_progress=False)

from fastai.vision.all import *
im = Image.open(dest)
im.to_thumb(256,256)
Repeating the above process for different term
url = search_images('teddy bear photos', max_images=1)
url[0]

download_url(url[0], 'teddy_bear.jpg', show_progress=False)
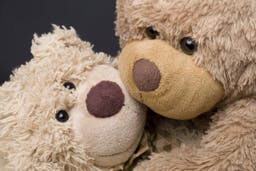
Image.open('teddy_bear.jpg').to_thumb(256,256)
Creating folders for training our model
searches = 'teddy_bear','bear'
path = Path('bear_or_not')

for o in searches:
    dest = (path/o)
    dest.mkdir(exist_ok=True, parents=True)
    download_images(dest, urls=search_images(f'{o} photo'))
    resize_images(path, max_size=400, dest=path/o)
Searching for 'teddy_bear photo' Searching for 'bear photo'
Checking if any image is not in proper format
failed = verify_images(get_image_files(path))
failed.map(Path.unlink)
len(failed)
3
dls = DataBlock(
    blocks=(ImageBlock, CategoryBlock),
    get_items=get_image_files,
    splitter=RandomSplitter(valid_pct=0.2, seed=42),
    get_y=parent_label,
    item_tfms=[Resize(192, method='squish')]
).dataloaders(path)

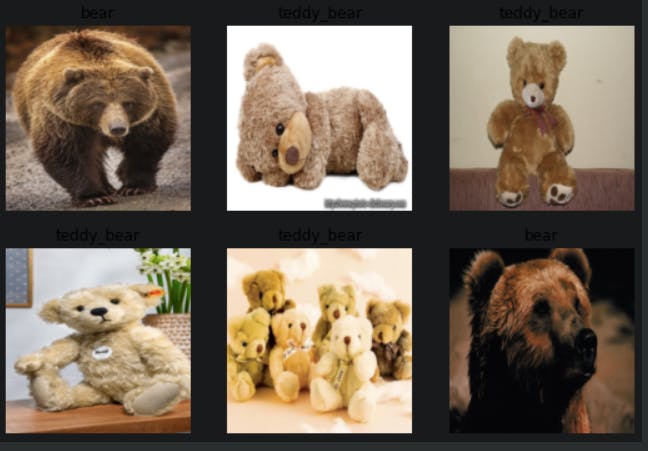
dls.show_batch(max_n=6)
Training our model
learn = vision_learner(dls, resnet18, metrics=error_rate)
learn.fine_tune(4)

Checking the output of our model
is_bear,_,probs = learn.predict(PILImage.create('bear.jpg'))
print(f"This is a: {is_bear}.")
print(f"Probability it's a bear: {probs[0]:.4f}")

Making a .pkl file of our model
learn.export('model.pkl')
from google.colab import output
output.disable_custom_widget_manager()
Installing gradio library for deployment
!pip install gradio --quiet
import gradio as gd
learn.path = Path('.')
learn.export()
learn = load_learner('export.pkl')
labels = learn.dls.vocab
def predict(img):
    img = PILImage.create(img)
    pred,pred_idx,probs = learn.predict(img)
    return {labels[i]: float(probs[i]) for i in range(len(labels))}
import gradio as gr
gr.Interface(fn=predict, inputs=gr.inputs.Image(shape=(512, 512)), outputs=gr.outputs.Label(num_top_classes=2)).launch(share=True)
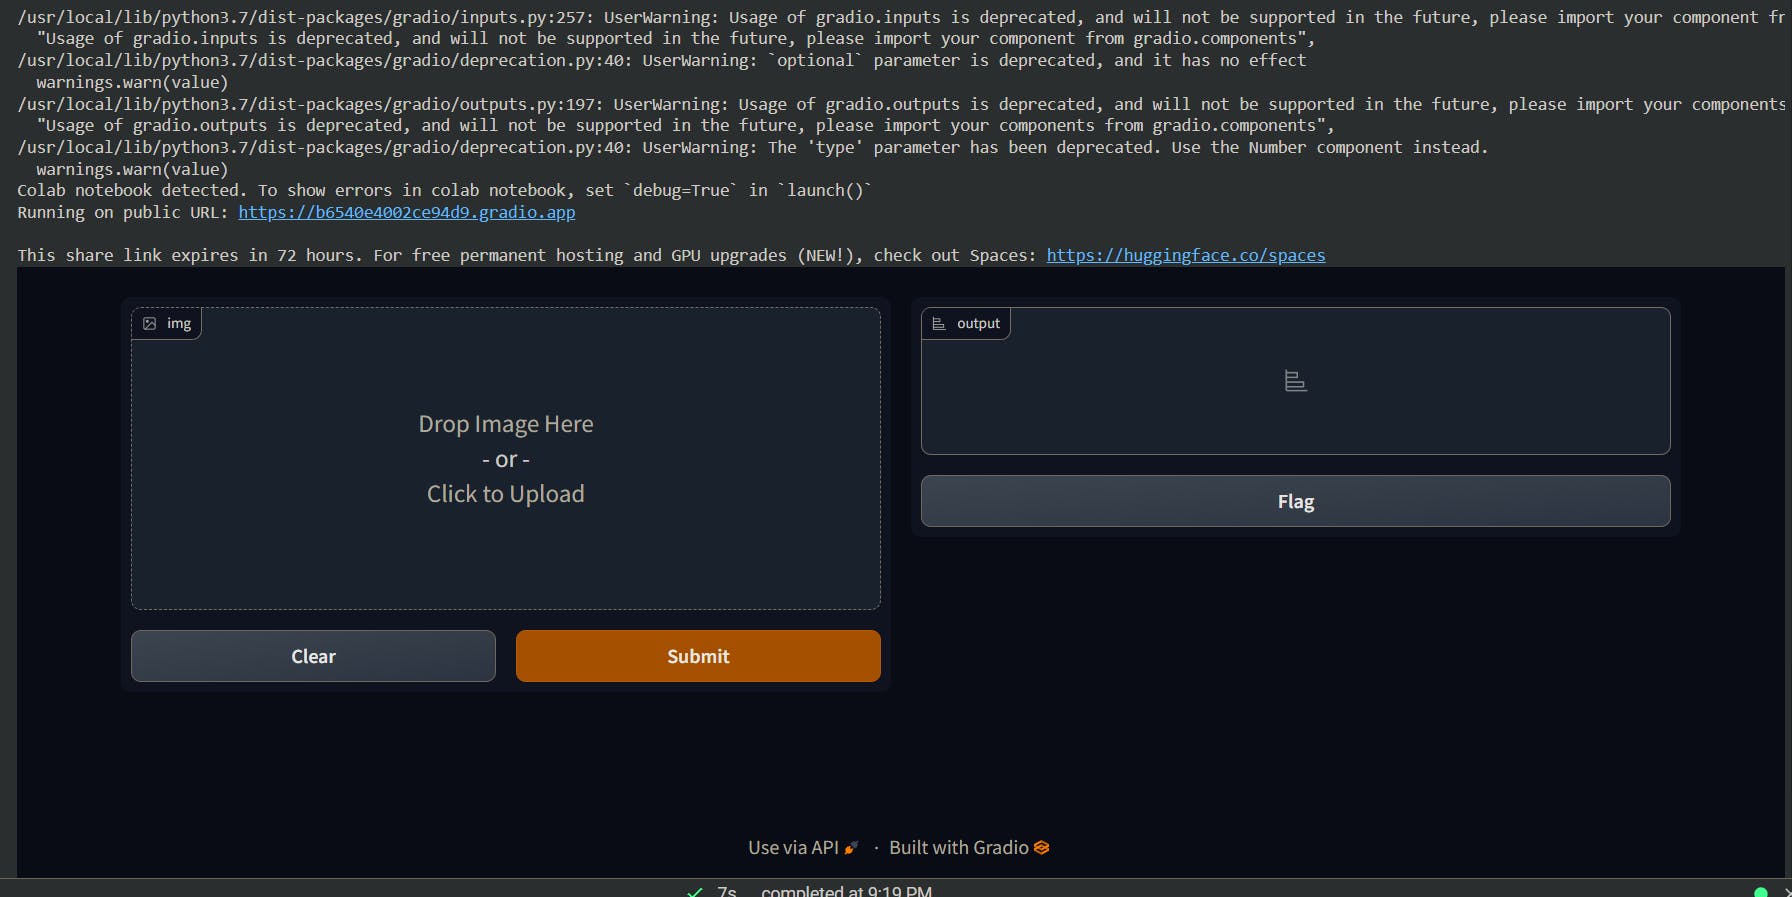
The model has been trained and deployed into our browser, but we need to push forward a little bit to make it available to everyone. To push it into huggingface spaces, you need to use the same file format as mine, and create a app.py where our public model runs.
The above link contains my app.py code. You can change it according to your wishes and publish it to your huggingface account.
